In fact, the ONLY part of the night I have even remotely fond memories of was what I ordered when he took me to The Green Mill in Sioux Falls: Butternut Squash Ravioli with Asparagus.
I decided that I just HAD to try to replicate this incredible creation on my own, so I started looking for recipes. However, apparently I didn't look hard enough, because what I settled on tasted absolutely NOTHING like the delicacy that I experienced at The Green Mill. But like I said in my initial blog entry - I'm not just going to share with you my successes, but also my failures. I will admit - we had about 4 ravioli each, then threw the rest out. And I seldom, if EVER throw food away. It was that bad :(
But I digress...here was the process:
I found the recipe on AllRecipes.com, which I've tended to have pretty good luck with. I read a few of the reviews, decided that if so many people LOVE it, it must be awesome, right? WRONG! About the only thing this recipe got "right" was that it really was "easy"...well, easy, considering I had already prepped and baked the squash.
The Recipe:
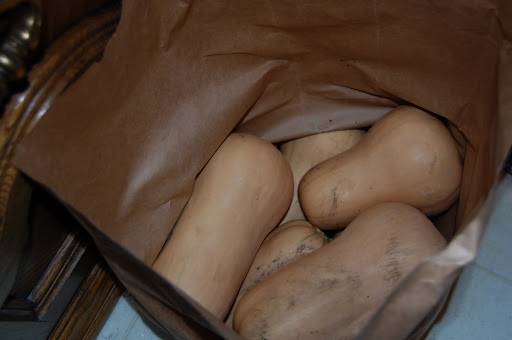
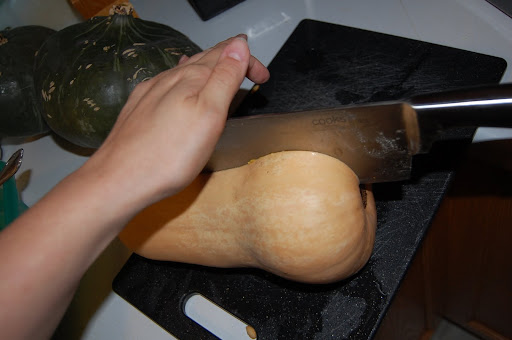
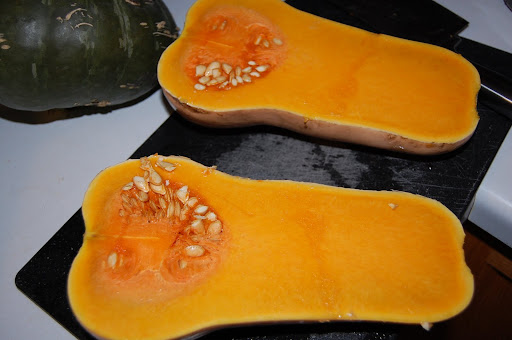
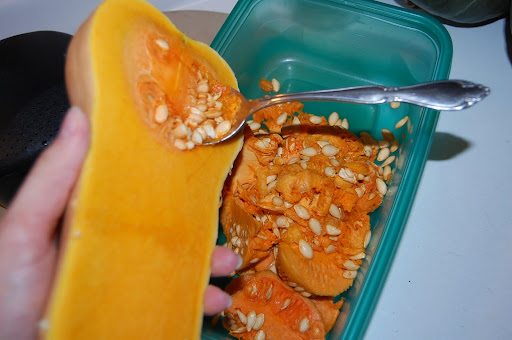
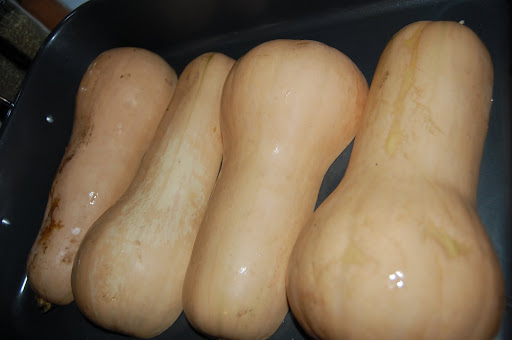
The filling:* 1 large butternut squash - halved lengthwise, peeled and seeded
* 2 tsp butter
* salt and ground black pepper to taste
* 1/2 tsp allspice
* 1/2 tsp ground nutmeg
* 2 tsp ground cinnamon
* 1/2 C Parmesan cheese
* 50 wonton wrappers
* 1 tsp egg white, lightly beaten
Sauce:
* 1/4 C unsalted butter
* 1/4 C chopped fresh sage leaves
* salt and freshly ground black pepper to taste
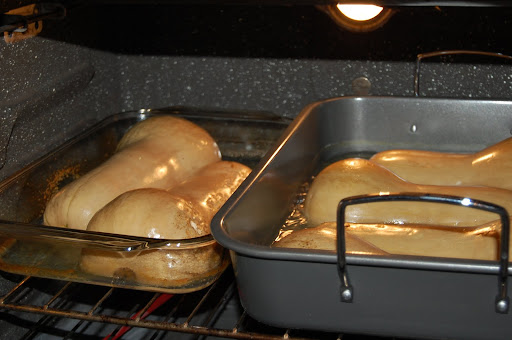
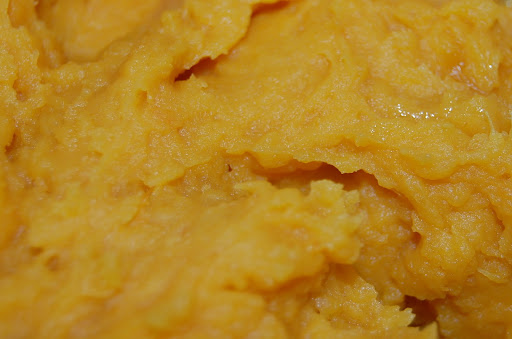
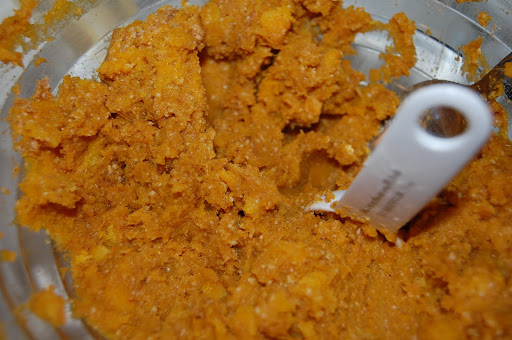
I started by blending in all the filling ingredients (after heating up my squash in the microwave for a couple minutes), and it looked like this:
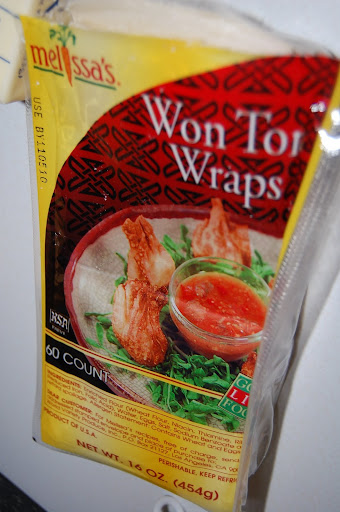
Living in such a small town, I didn't have the option to be picky about these wonton wrappers (they only had one kind), so I went with these:
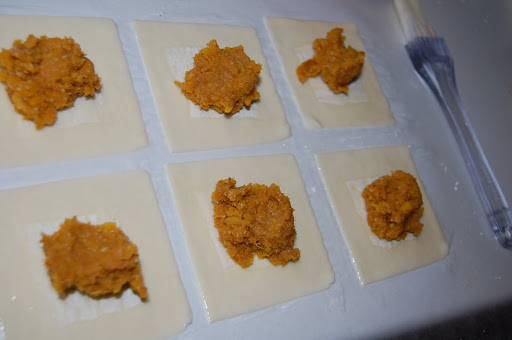
I laid out the wonton wrappers on a piece of wax paper (to make clean-up easy). I brushed them around the edges with egg whites with my new pastry brush, then added about 1 Tbsp of the filling in the middle.
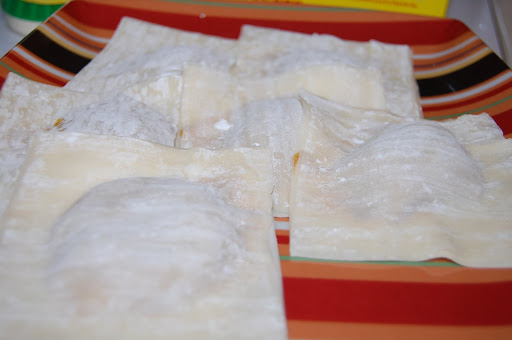
I then added another wonton wrapper on top to close them up, and set them aside to get ready to cook.
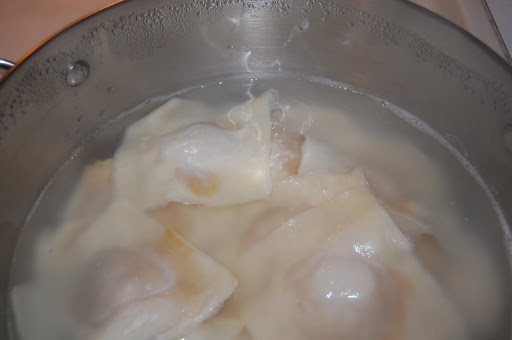
While I was prepping the ravioli, I got a large pot of water boiling on the stove.
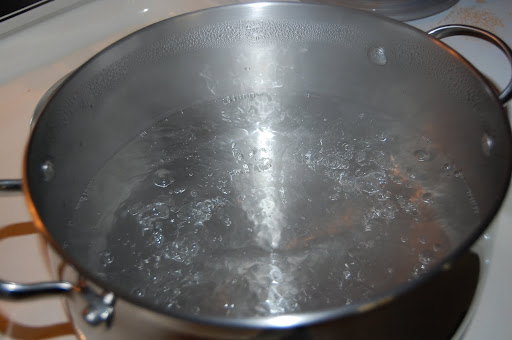
Then, I dropped the ravioli in to boil for 3-5 minutes, just like the recipe said.
Unfortunately, also living in a small town, they didn't have any fresh sage even for sale at our grocery store, so I thought I'd just try melting some butter with ground sage. I'm positive this was a horrible move, but in my opinion, the sauce shouldn't have to "make" the meal - the ravioli themselves should have been fine without needing a sauce to make them awesome.
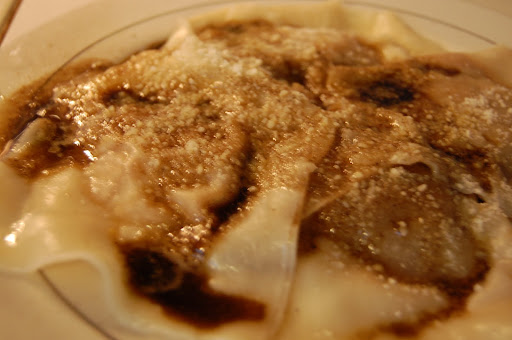
The finished product ( which tasted as bad as it looks):
The Review:
I wouldn't say the flavor was ridiculous, it was just so....starchy, and without a delicious flavor, it was just like this thick, pasty mess coated in butter.I won't entirely write off squash ravioli, since I KNOW that there must be recipes to try. But for now, I'm looking forward to trying some new squash recipes - like soups and pancakes!